I used a mixture of fireclay and sand to level the bricks where needed.

Trying to get the curves just right.

In the bottom rows I used mainly recycled brick from my previous kiln, and the roughest ones went on the outside.

I started with some pillars in the front and worked my way back. I had a center line to work from, trying to keep everything as symmetrical as possible, but it wasn't easy.

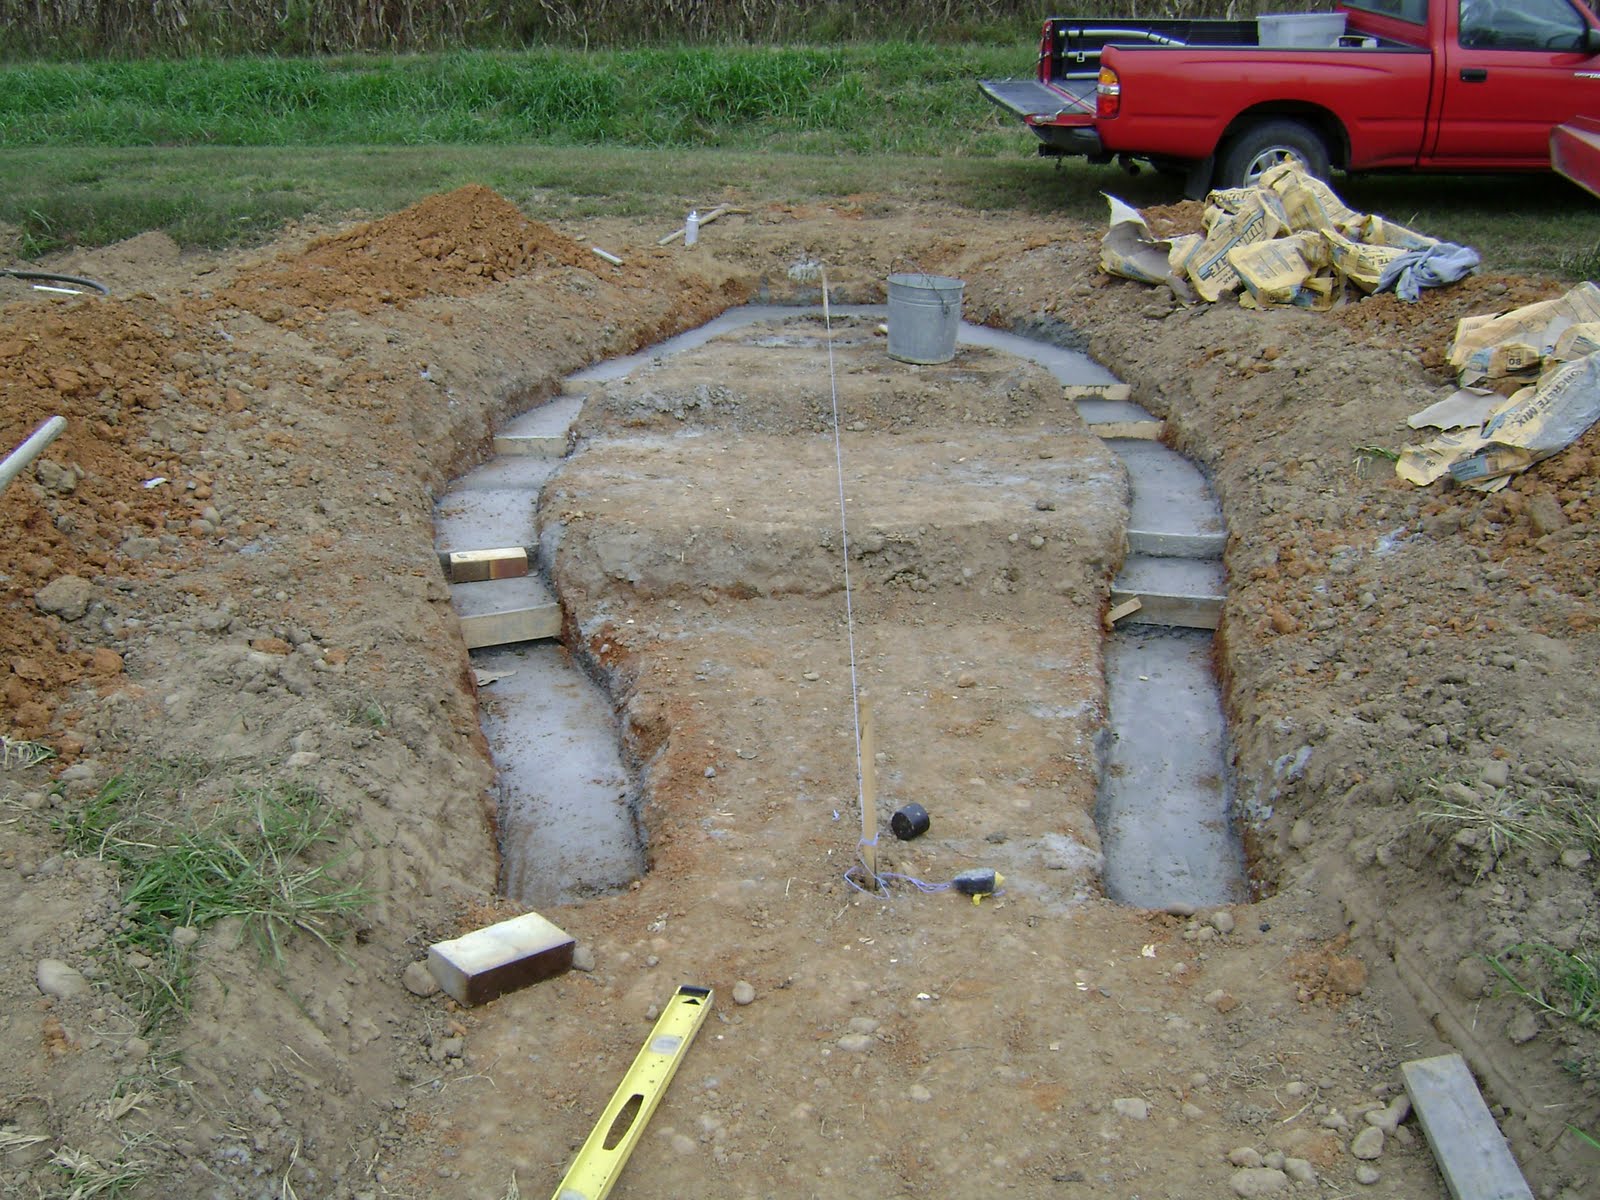
Here's a detail of the footings with a brick. It helped me to keep everything level when laying in the rows. I used a laser transit to level all of the bulkheads in the footings. My construction background (and my dad's laser) helped in laying out the foundation.

The foundation for the kiln is complete, after 27 bags of quikrete. You can see the basic shape of the kiln, based on the shape of a flame. I decided to put concrete footings under the kiln to prevent shifting or settling later on. I don't know that this was necessary, but it can't hurt. The footings averaged 5" deep, and I stepped them up 2.5 or 5" to work with my standard firebrick 9 x 4.5 x 2.5."
 A view underneath of the 2x4 legs.

 Here we are attaching strips to the ribs, trying to maintain a smooth shape.
 With all the ribs in place, we staple the strips, which made a really solid structure.
 The next step was to cut out the ribs and set them into place every 16 inches or so. I used 2x4's to lift the ribs off the kiln floor, and to attach rib to rib. The first strip is nailed on top of the ribs in this picture.